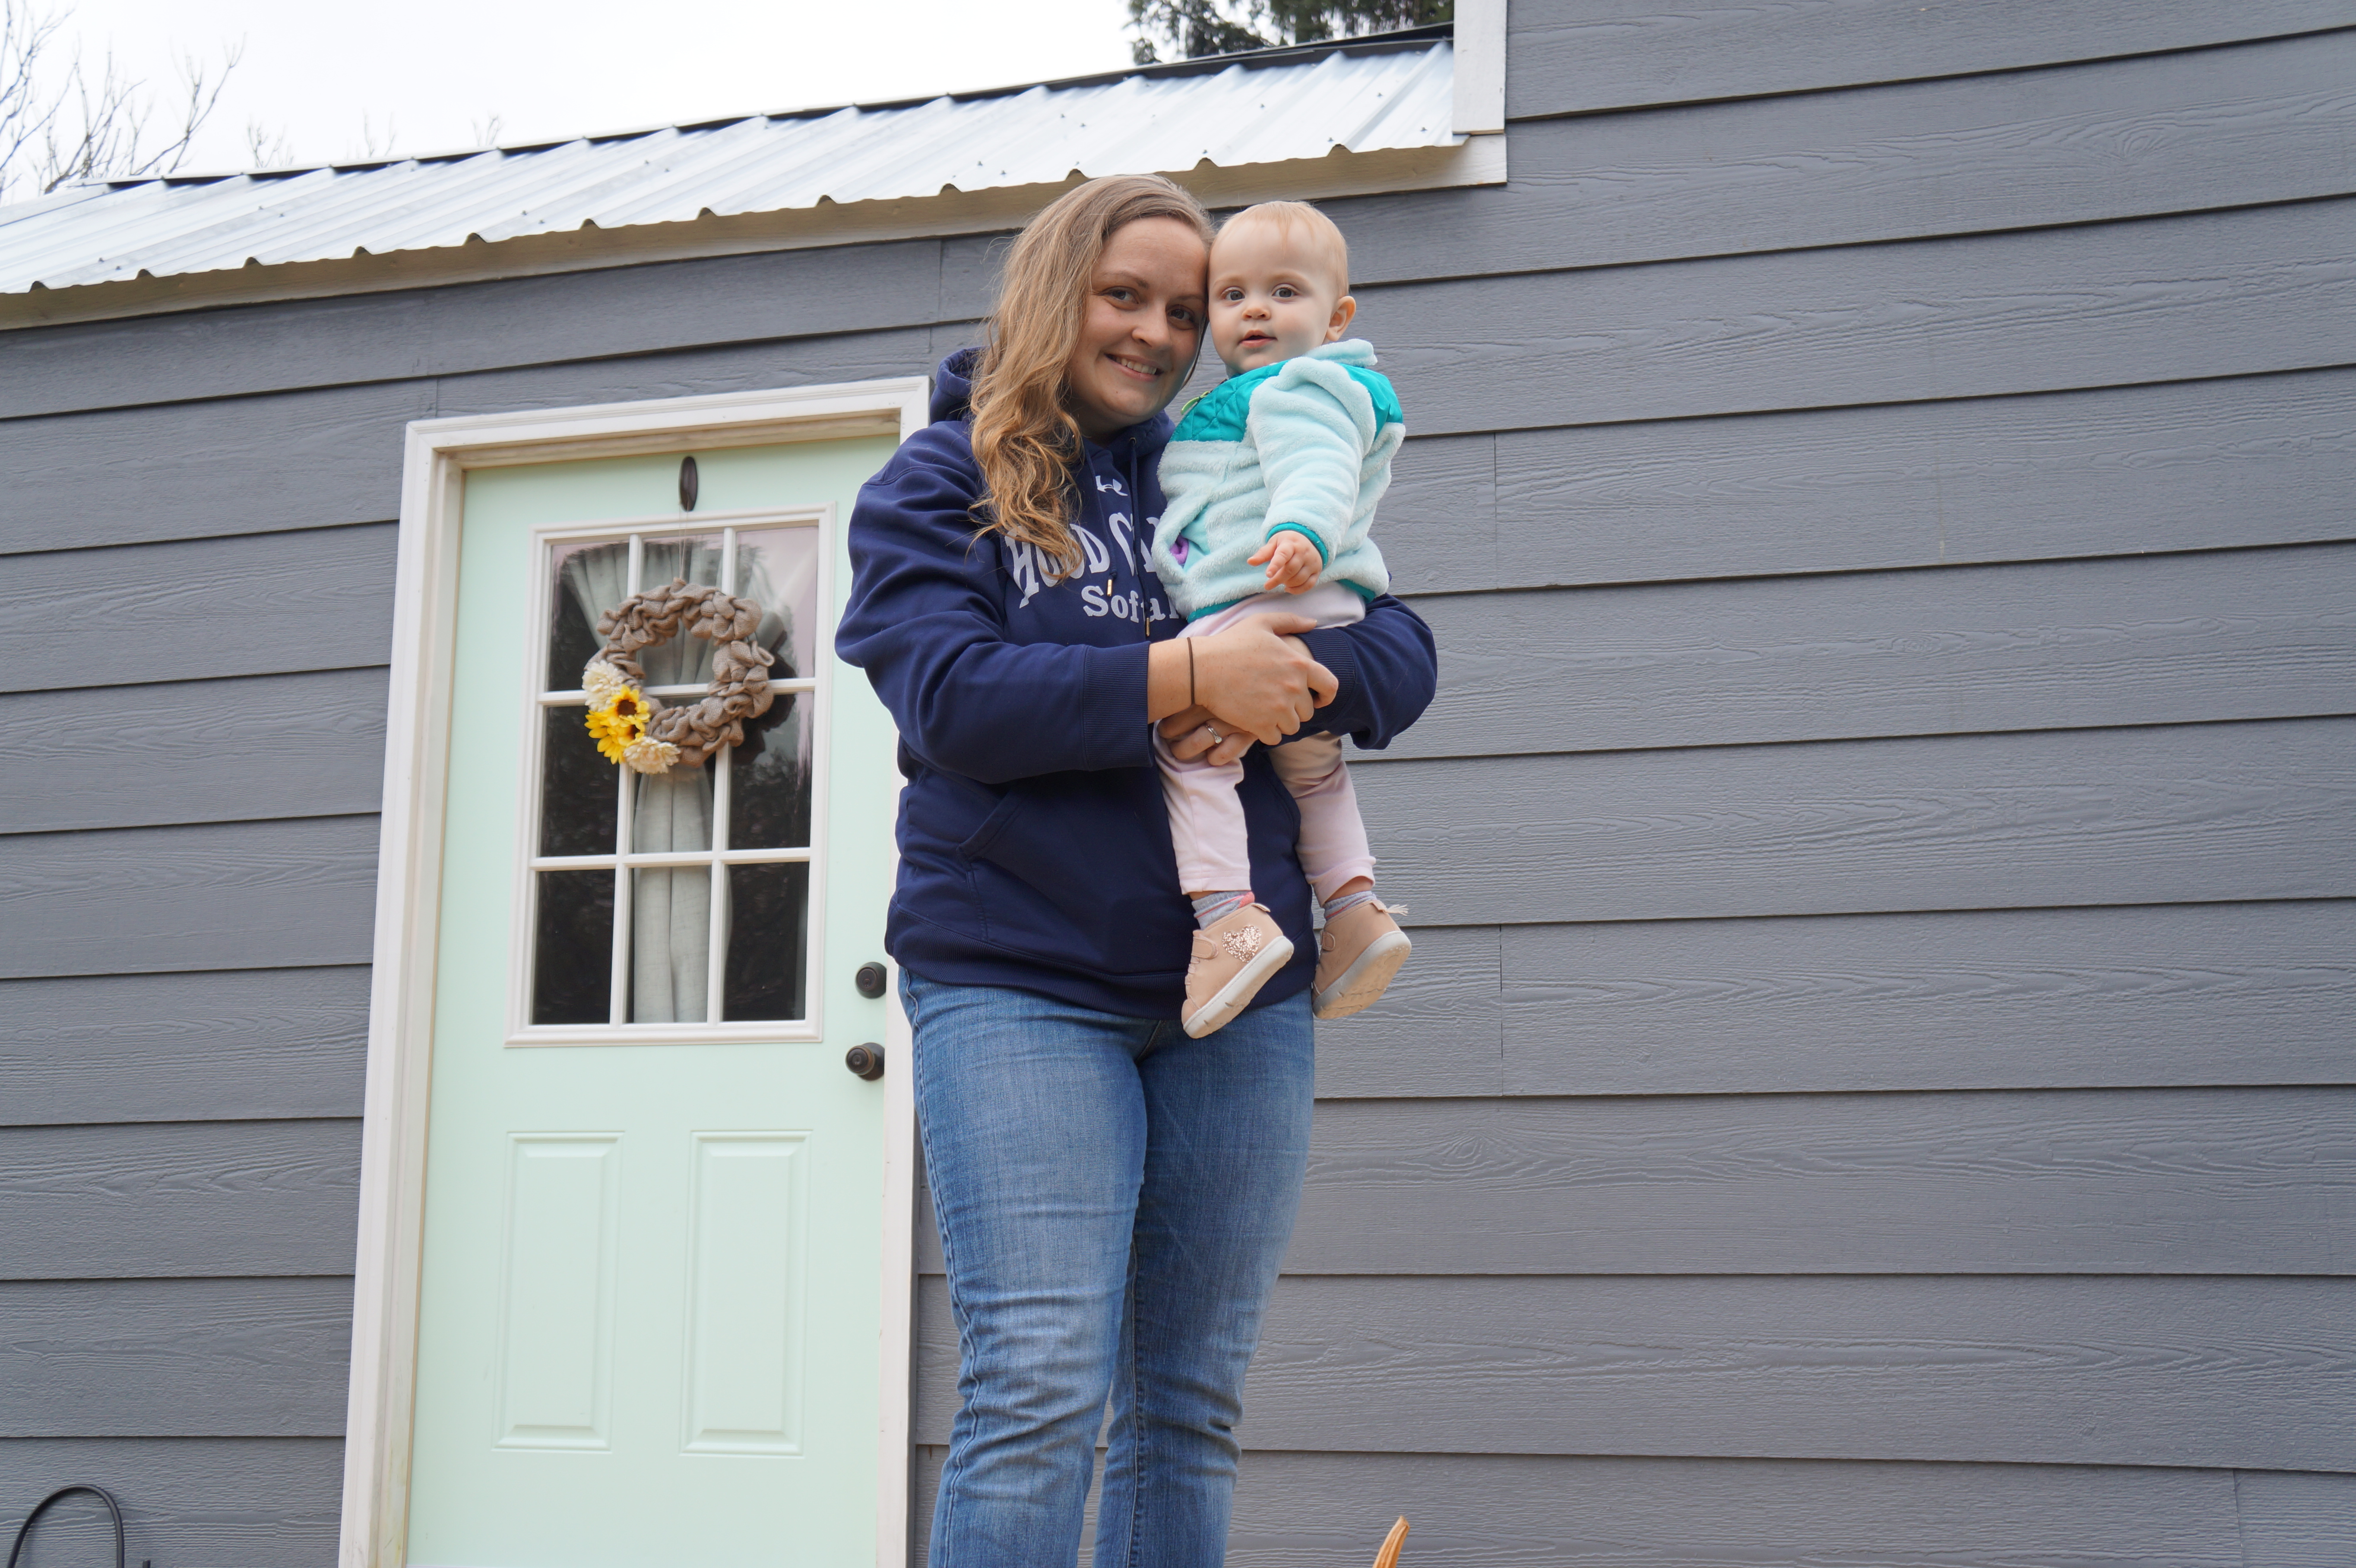
Is anyone else out there struggling to keep their young one occupied during these trying times? Even coming from a background in Early Childhood Education, I have been struggling to come up with activities that will keep our little one entertained and keep her mind of the playground! We are really missing those swings, climbers, and slides in our house…
When living tiny, you do not have space for lots and lots of craft supplies and pre-made activities to keep your little one entertained during a rainy day or a pandemic. Therefore, we are going to provide you with some simple activities to do inside that do not require a lot of materials and still teach/engage your child!
- The Very Hungry Caterpillar Math/ Nutrition
- Materials: The Very Hungry Caterpillar book, fruit (apples, strawberries, etc.), knife
- Activity:
- Read The Very Hungry Caterpillar by Eric Carle (if you do not own this book, you can watch it on Youtube and/or Netflix)
- Choose some fruit to create a fruit salad or just one or two pieces of fruit to eat. Talk about the nutrition and importance of eating fruits and vegetables. In the book, the caterpillar eats a lot of junk food on Saturday and makes his stomach ache…another great talking point in the book!
- While cutting the fruit, talk about how many pieces you have to start, then how many you have when you cut them in half, quarters, etc.
- Alternate Activities:
- You can even do addition: If I give you 3 strawberries and 4 grapes, how many pieces of fruit do you have now? And subtraction (the fun part): If you have 7 pieces of fruit and you eat 2 strawberries, how many do you have left?
- If you have multiple children of varying ages, you can scaffold the questions by asking the younger to count and the older to do the addition. The complexity can change based on how much your child knows/understands!
- Activity:
- Materials: The Very Hungry Caterpillar book, fruit (apples, strawberries, etc.), knife
- Chalkboard Language Arts
- Materials: Chalkboard or whiteboard, chalk or dry erase marker, paintbrush, water, cup
- Activity:
- Write letters on your chalkboard (or whiteboard). Give your child a paintbrush with water to erase the letters (if you do not have a paintbrush, you can just have them use their finger dipped in water.
- Depending on your child’s abilities, you can ask them to simply use a paintbrush with water to erase the letter or give them a letter sound and they have to erase the correlating letter. If your child is just starting to learn letters, simply writing their name and having them erase their own special letters is super motivating.
- Alternate Activity:
- Another fun activity is to draw a picture and when you make a rhyme, they have to erase the picture of the item that rhymes with what you said. For example, you draw a picture of a boat in the water and say “Goat.” The child would then erase the boat. They can then draw their own picture and have you erase the rhyming item.
- Activity:
- Materials: Chalkboard or whiteboard, chalk or dry erase marker, paintbrush, water, cup
- Oobleck Science
- Materials: newspaper or cardboard, 1 tbsp cornstarch, 2 tbsp water, stirring stick (spoon, popsicle stick, etc.), cups, plates
- Activity:
- Yes, this will be messy. Yes, your child will have an amazing time. No, it will not ruin your home. That being said, put down some newspaper or old Amazon box to protect your surfaces. You may choose to do this at your table or on the hardwood floor.
- Oobleck is simply 1 part water to 2 parts cornstarch but it is FASCINATING! When you mix these together, be ready to be amazed! It is solid when you hit it or squish it together but turns liquid when it runs through your fingers or you move it on the surface.
- This is a great time to talk about how all things are made of matter and take up space. You can use the vocabulary liquid, solid, and gas to determine which category Oobleck belongs to. If you have cups to spare, allow them to explore what happens when it is poured into another cup or onto a flat surface (such as a plate).
- Again, it is only water and cornstarch so do not be too concerned about the mess. If you do not want a huge mess, feel free to move your experiment into the shower or bathtub for easy cleanup!
- Activity:
- Materials: newspaper or cardboard, 1 tbsp cornstarch, 2 tbsp water, stirring stick (spoon, popsicle stick, etc.), cups, plates
- Recycled Instruments (Music)
- Materials: (one or all can be used) recycled toilet paper or paper towel tubes, plastic water bottles, tissue boxes, rubber bands, tape, dried beans, rice, or anything else you have that can be reused, markers for decoration
- Activity:
- This one is so much fun! What do kids love more than making noise? NOTHING. In a tiny space, noise can be elevated due to the close quarters but this activity will keep them entertained for a long time. (They can always “disappear” during certain parts of the day 😉 )
- Simple shaker: Using a paper towel or toilet paper tube or water bottle, add dried beans or rice. Then, either cover the bottom of the paper towel tube with paper and a rubber band or simply place the cap on the water bottle (pro tip: hot glue the lid and then duct tape around it so you don’t have any accidents).
- Guitar: use the tissue box and wrap rubber bands around so they are over the opening. I recommend only using 2-4 depending on the size of your box.
- Drums: empty coffee canisters or oatmeal containers make great drums! And you do not need to do anything but decorate them if you would like.
- Additional Activities:
- Teaching your child about recycling is important, and super fun! Not everything we use needs to be thrown away, it is so powerful and meaningful to find a new use for something that would otherwise end up in a landfill. This can also be a time to teach your child about rhythm, beat, syllables, patterns, and much more!
- If you are like me, I know nothing about playing an instrument but I can tap out a beat and try to have my child recreate it. Or I can create a pattern with my shaker: shake shake, pause, shake. I can also say the syllables in my child’s name or other words they point out and shake or tap the syllables out (Lu-cy, bath-room, a-pple-sauce)
- Activity:
- Materials: (one or all can be used) recycled toilet paper or paper towel tubes, plastic water bottles, tissue boxes, rubber bands, tape, dried beans, rice, or anything else you have that can be reused, markers for decoration
- Treasure Map (Geography/Social Studies)
- Materials: Paper, markers/pencil/pen, item your child wants
- Activity:
- Draw a simple representation of your house for your child to read. You do not need to be an amazing artist, just use basic shapes so your child can identify where they are in the house.
- Give them a starting point and draw a line to an object they may want (such as a tablet or snack or special toy). X marks the spot!
- If your child is older and capable of reading, instead of giving them a directional map, provide them with clues about where it is using directional words (right, left, straight, under, over).
- Activity:
- Materials: Paper, markers/pencil/pen, item your child wants
- Seed Starting and Growth Charting
- Materials: seeds, paper towel, water, plastic bag, tape
- Activity:
- Before you begin, ask your child to tell you what they know about seeds. Give them the opportunity to share what they already know about seeds and how they grow.
- Tell them that seeds need sunlight, water, and soil to grow but we are going to start these seeds without soil. (These seeds can be dried beans you may already have around the house or leftover seeds from years before, you could even try a seed you took out of a pepper you just ate!)
- Place the seeds in the bag with a soaking wet paper towel and tape them into the window. Mark how big the seed is. As the seed grows and sprouts, talk about the different parts of the seed you see (roots, stem, leaf) and mark the growth on the bag.
- Additional Activity:
- Once the roots have sprouted and you feel it is large enough, plant it in a pot or in the ground to continue the growth!
- One of the most rewarding things a child can do is grow their own food and learn where food comes from. If you would like to purchase a fast-growing plant, lettuce, beans, and peas are great options. Marigolds also do not take too long to germinate and are great pollinators.
- Activity:
- Materials: seeds, paper towel, water, plastic bag, tape
- Sensory Letter Hunt
- Materials: dried black beans or rice, letter magnets or cards, take out container or Tupperware
- Activity:
- In a shallow container, place a scoop or two of beans or rice- enough to hide the letters placed inside. Then, place letters inside and have your child hunt for them.
- If your child is working on their name, hide their letters and then have them place them in order once they find them all. If your child is younger, place some letters for them to find and name them as they go, the letters in their name are still a great idea and you can help them place them in order!
- You do not need to have any premade letters on hand… we don’t! Just take some paper and write letters, numbers, shapes, etc. on the paper and cut them out to hide.
- Additional Activities:
- This activity can be done with SO MANY learning goals. Hide numbers or shapes, hide objects or search for specific colors. Go with what your child is interested in and teach them something new!
- Activity:
- Materials: dried black beans or rice, letter magnets or cards, take out container or Tupperware
- Painting Experiences
- Materials: non-toxic paint, paper, kitchen utensils (spaghetti spoon, spatula, whisk, fork)
- Activity:
- Give your child the paper and allow them to choose the color paint they want to use. Then, provide them with multiple utensils to create their art other than their fingers or a paintbrush.
- If you are not comfortable with them using your kitchen utensils, find something else in your house that you are not using and allow them to explore textures with that! Some ideas are sponges, pieces of fabric at the end of a clothespin, or marbles (depending on age of course! Choking hazard).
- Placing their painting in a box lid or some sort of containment can help alleviate the mess, or again, enjoy your art project in the shower or bathtub for easy cleanup!
- Activity:
- Materials: non-toxic paint, paper, kitchen utensils (spaghetti spoon, spatula, whisk, fork)
- Yoga
- Materials: none
- Activity:
- Simple yoga poses to do with your child are:
- Slide- place your hands on the floor behind you and stick your feet out straight, lift your body up so you are flat like a slide.
- Plank- place your hands into the push-up position and hold that position.
- Warrior- place one foot out in front of you and one behind you. Then, place one hand in front (the same side of your body as the foot out front) and one behind you.
- Swan- lay on your belly and place your hands on the ground. Bend your knees and try to touch your head to your toes behind you. (This is one of my student’s FAVORITES to try and they get so excited when they finally get it!)
- Butterfly- Sit with your feet touching in front of you, legs bent, pulling your legs in as close as you can to your body. Then place your hands near your armpits and hold that position.
- Chair- from a standing position, squat like you have a chair under you and hold that position.
- Mouse- tuck your knees under your body and place your head on the floor. Allow your arms to lay back next to your body and legs.
- Doing yoga can calm you and your child down while also releasing some of that pent up energy.
- Don’t worry about being able to do all the poses perfectly! The point is to try and stretch your body. Show your child the importance of resilience and each time you try, you get a little bit better. You are also showing that you are willing to try new things, which in turn will allow them some confidence to try new things as well.
- Work on counting by choosing different numbers to reach for each pose. You can even try counting by 2’s, 5’s, 10’s or the number of your choosing.
- If you are nervous about doing these poses without assistance, there are many great YouTube videos to assist you. I love Cosmic Yoga, personally. You can also search for pictures to print out of child-friendly poses.
- Simple yoga poses to do with your child are:
- Activity:
- Materials: none
- Activity Dice or Cards
- Materials: 2 dice or cards, bag for cards
- Activity:
- On one die (or in one bag), place pictures or words of activities to do such as pushups, jumping jacks, wall sits, hop on one foot, stomp, and tiptoe. The other die (or bag) will have numbers to tell you how many times you are to do the activity.
- Have your child roll or pick the number card first to determine how many they are to do. If they are capable, have them roll or pick twice and the sum is the amount they must do the activity. Then, have them choose the activity and perform it.
- Talk about how exercising is important to their health and growth. Take a moment to feel the difference between their standing heart rate and when they have finished an activity.
- Activity:
- Materials: 2 dice or cards, bag for cards
Being forced to stay inside is never an easy task, especially with young children in a small space! We try our best to go outside in all types of weather, as long as it is safe, but there are plenty of days we are stuck inside. We hope these activities can help break your cabin fever a bit and you can have fun doing it!


Leave a Reply